Showing posts with label strawberry. Show all posts

Thursday, 10 May 2012

Lemon and Strawberry Tart

So these past couple of weeks have been crazy busy!!  I've been finishing up exam papers and trying to re-organise our life *phew it's been tiring*! So sadly Lemony Love has been neglected, but I've been doing lovely treats and crafts the whole while! :)

Okay, so onto the fantastic Lemon and Strawberry tart I made last night! I've been in the mood for something that isn't chocolate (I think  I might be sick) and decided to give this little treat a try!

I found the recipe on Pillsbury's site.  It was pretty simple, but make sure you have everything ready to go because you can't leave the sugar/flour/cornstarch slurry alone (or else it will burn!)

So first, mix your sugar/flour/cornstarch in the sauce pan and have your water on hand.  Use cold water, adding it slowly, as it ensures your mixture won't clump.  Cornstarch is a little bugger for that! Bring the mix to a boil, stirring the entire time.


Then you beat your egg yolks (save the whites because you can make an angel food cake with them!!) Temper your egg yolks by adding a little bit of the slurry to the yolks slowly to bring everything up to the same temperature.  The recipe says to add about half of the mixture to the eggs, I didn't do that.  Just add enough to make sure your eggs aren't going to scramble. The mixture will turn a lovely shade of yellow!


After you've added the eggs, you can add your lemon zest and juice.  Whisk away! Then once it has boiled, bring it off the heat, add your butter, mix it in so it melts and let stand for ten minutes. After it has cooled, add your mixture to your pre-cooked pie shell.  I was feeling adventurous yesterday so I made my own! Simply Recipes offers some great advice on making crusts, check it out!


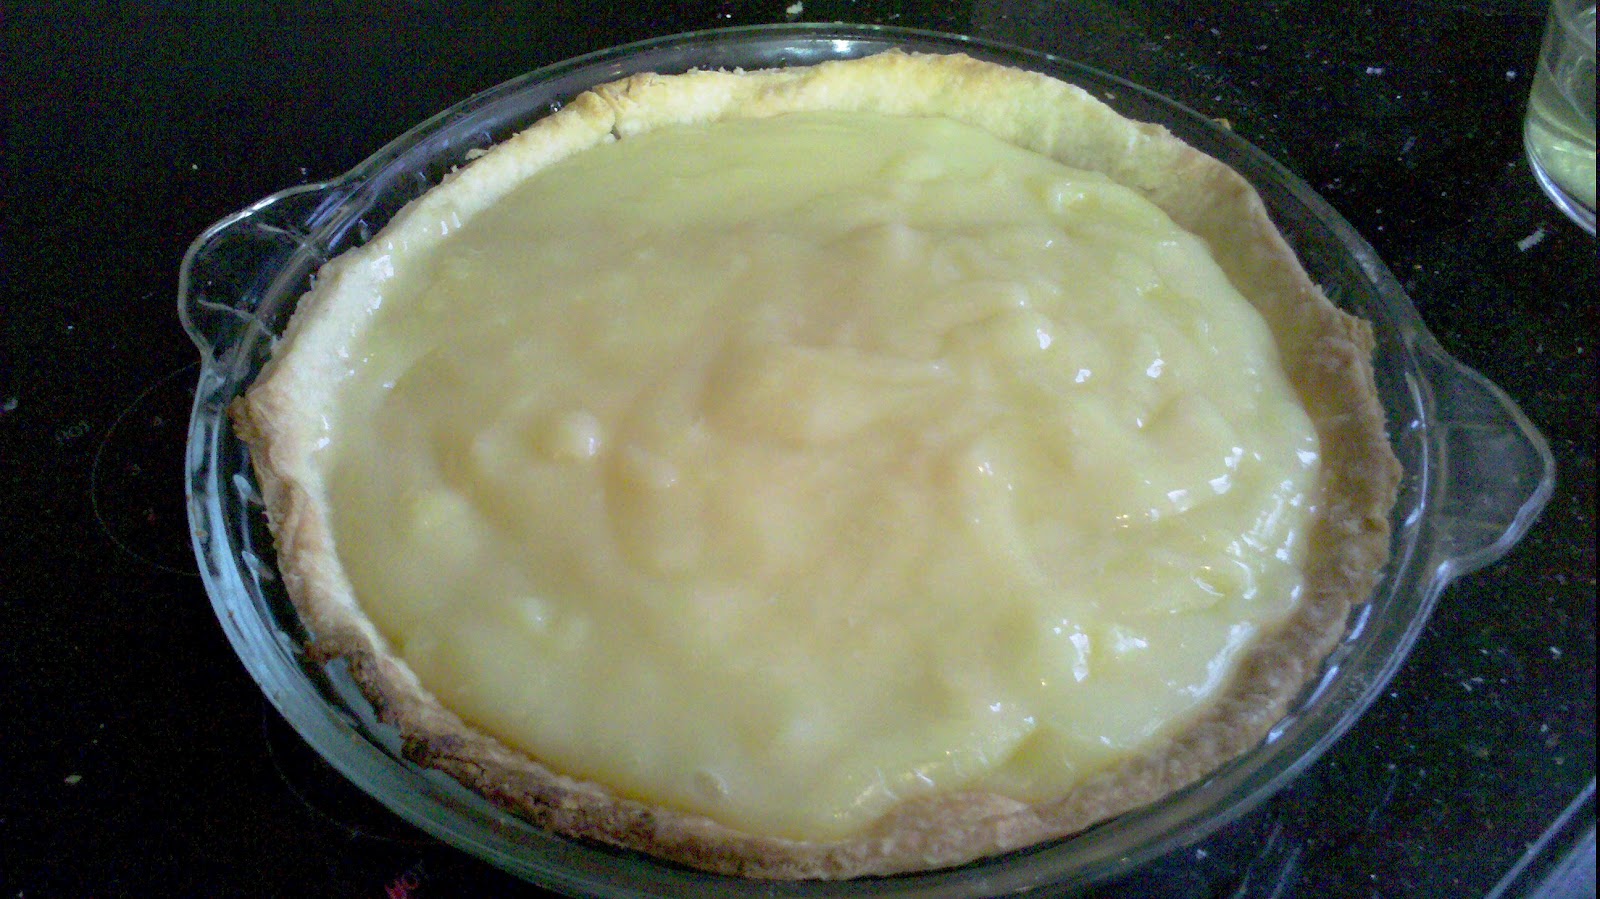
Then you stick the lemony goodness in the fridge for two hours, pull it out and put strawberries on top.  The recipe calls for three cups, but I didn't have that many so I just lined the outside! :)


Put it back in the fridge for another two hours (Oh the waiting game!!!).  Then slice it up and enjoy the little tart! :) 


Friday, 20 April 2012

A slice of summer: Strawberry Pie

The weather has been amazing here in Toronto and I've been in the mood for berries.  All sorts, blueberries, blackberries, strawberries, raspberries, you get the idea.  I love them and the warm weather has really been pushing me into summer mode.

I saw a great post on Pinterest ages ago for Strawberry pie: it looked amazing! But when I went to get the recipe today, the site was asking for money to view the site...meep! So I went on a hunt for a new recipe.

I found this recipe called Makeover Grandma's Strawberry Pie on TasteofHome and it looked great! It just so happened that I was talking with my dear friend Cassie and she is a fantastic baker (and cook!).  She made this ahhhhmazing pumpkin pie for Thanksgiving and I ate more than I wish to admit. Anyway, Cassie has made a strawberry pie before and I mentioned to her that I was going to make one. She gave me some great advice: COOK EVERYTHING SLOW AND LOW! It's true. Make sure when you are cooking to have patience, the end result will be well worth it.

So, the recipe doesn't have any photos and I am a visual person, so, here we go!

It's a pretty simple recipe and doesn't call for too much! The only thing missing from this photo is the pie shell.  I cheated and had a frozen one! You need to pre-cook the pies shell so it can cool before putting in the lovely strawberry mixture.


So first off, mix the sugar and the corn starch in the pan.  Make sure you mix it all together before adding the water.  The water needs to be cold (so the corn starch doesn't clump).  Add the water in slowly and and keep on whisking.  It will look a bit like watered down milk, but keep on whisking with your heat on low!


Eventually the mixture will start to thicken up and clear up.  Let it boil (while stirring your little heart out: it's a great workout for your arm muscles!!!).  Remember Cassie's advice and keep the heat low!  It'll be a thick consistency.


After it has boiled for about two minutes, take it off the heat and add the gel.  This is where I got a little crazy and added about 1tbs of homemade strawberry jam (from my cousin Heidi, so tasty!) for a little extra strawberry taste.  Just mix it all in until of the gelatin is dissolved and it will turn a lovely red colour.

So while you are waiting for the gelatin mixture to cool (15 minutes), slice up your berries. I used two containers (including the few I ate.  They were just too tempting not to eat!)  Once you've let your gelatin cool, pour it over the berries and make sure everything is nicely coated. 


After it's all coated, add it your lovely little pie shell. And then the waiting game begins.  You have to wait for FOUR HOURS for everything to set.


But me oh my is it worth the wait....It is amazing and tastes just like summer should.  Add a little homemade whipped cream on top and be prepared to fall in love.